How to Install 4x8 Sheets of Beadboard on Ceiling Like a Pro
Share
If you’ve ever looked up at a dull, flat ceiling and thought it could use some personality, you’re not alone. One of the most charming and cost-effective ways to transform a ceiling is by installing beadboard.
But let’s get real—knowing how to install 4x8 sheets of beadboard on ceiling surfaces isn’t as effortless as slapping it up there. It requires preparation, precision, and a touch of patience. Whether you’re renovating a rustic farmhouse or just want to add character to a sterile space, beadboard ceilings are an ideal upgrade.
Understanding Beadboard Ceiling Panels
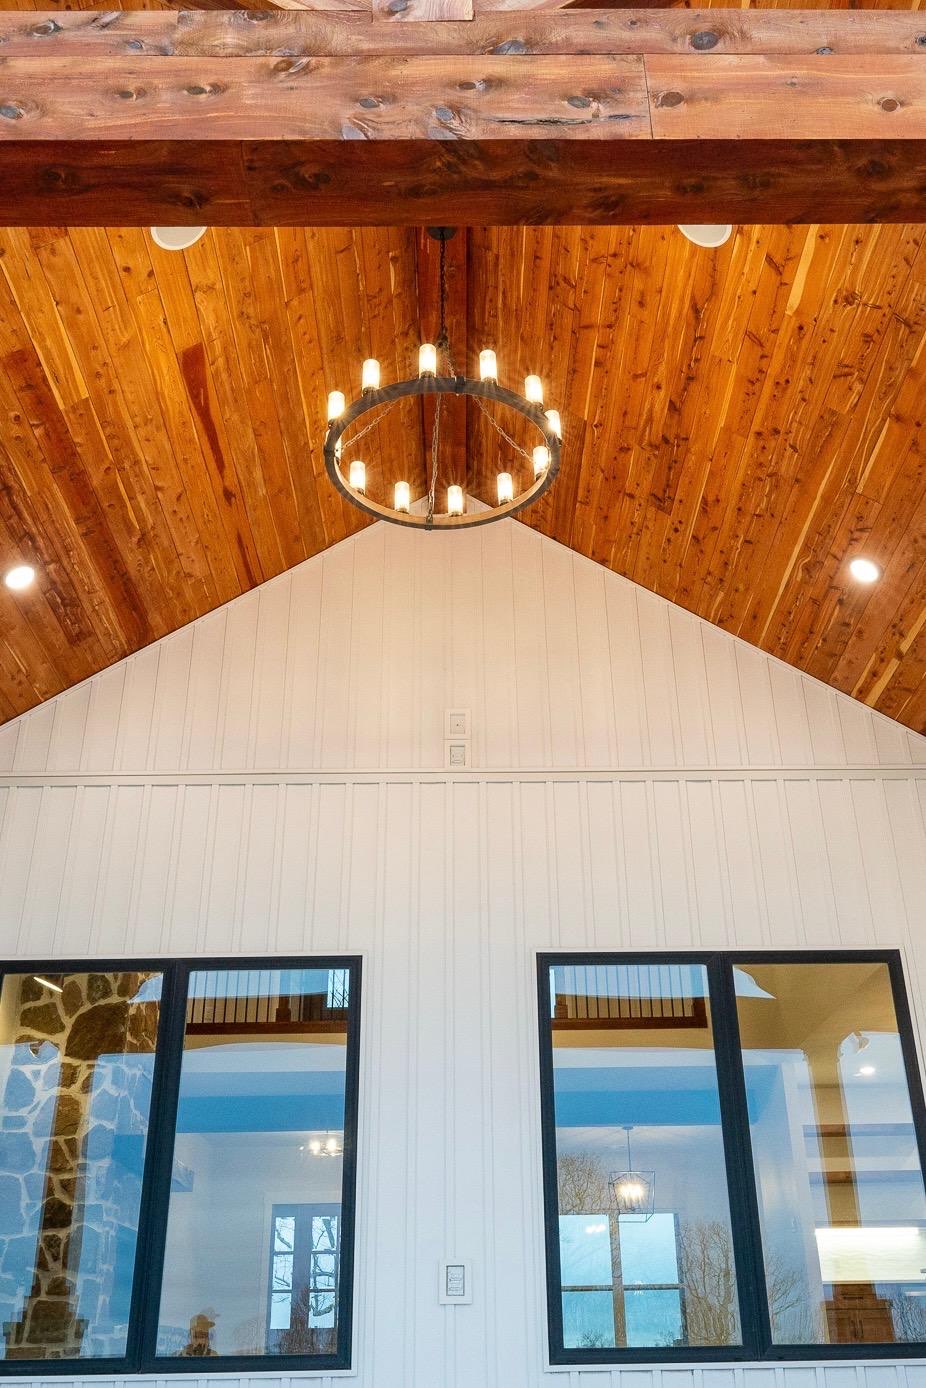
Before grabbing a nail gun, it’s crucial to understand what you’re working with. Beadboard is a decorative paneling featuring vertical grooves or "beads" that mimic traditional planked woodwork. The 4x8 sheets are often made of MDF, plywood, or PVC, making them lightweight and ideal for ceilings.
Why Choose 4x8 Sheets of Beadboard?
- Cost-Effective: Cover more area with fewer panels.
- Aesthetic Appeal: Adds instant architectural interest.
- DIY Friendly: With the right tools, it’s beginner-accessible.
Tools and Materials You'll Need
To get started, gather the following items:
ToolsMaterialsTape Measure4x8 Beadboard SheetsCircular SawConstruction AdhesiveStud FinderFinish Nails or ScrewsLevelCaulk and Wood FillerNail Gun or DrillCeiling Paint or PrimerLadder or ScaffoldingTrim or Molding
Preparing the Ceiling Surface
How to install 4x8 sheets of beadboard on ceiling starts with prep. The surface must be flat, clean, and structurally sound.
Find the Joists
Use a stud finder to locate the ceiling joists. Mark them with a pencil line so you know where to secure your panels.
Remove Fixtures
Take down light fixtures or ceiling fans to provide an unobstructed surface.
Clean the Surface
Remove dust, cobwebs, and any peeling paint. If the ceiling is textured, consider flattening it for better adhesion and finish.
Measuring and Cutting the Panels
Measure your ceiling dimensions carefully. Always double-check—measure twice, cut once.
Plan Your Layout
Dry-fit your panels on the floor before attaching them to the ceiling. This helps visualize the layout and reduces the chance of waste or misalignment.
Cut for Fixtures
If any panels need holes for lights or vents, mark and cut them before installation. Use a jigsaw for curved or round cuts.
Applying Adhesive and Securing Panels
Start from one end of the room and work across.
Apply Construction Adhesive
Generously apply adhesive to the back of the panel in a zigzag pattern. Press it firmly against the ceiling, aligning it with the joists.
Secure with Nails or Screws
Use a nail gun or screws to fasten the panel into the joists. Place fasteners every 6-8 inches along the edges and every foot in the center.
Seam Management Between Panels
One of the trickiest parts of how to install 4x8 sheets of beadboard on ceiling is dealing with seams.
Use Trim or Battens
Add decorative trim or wooden battens to hide seams between panels. Not only does it mask imperfections, but it also adds a finished, professional touch.
Wood Filler for Minor Gaps
Use wood filler or caulk to fill small gaps. Once dry, sand smooth and touch up with paint.
Finishing Touches and Painting
Once all panels are installed, step back and admire the transformation—but you're not done yet.
Caulk the Edges
Run a bead of caulk along the perimeter where the beadboard meets the wall or crown molding for a seamless appearance.
Prime and Paint
If the panels aren’t pre-finished, apply a quality primer followed by ceiling paint. White or pastel colors brighten the space and emphasize the beadboard texture.
Pro Tips for a Perfect Finish
- Start installation near a straight wall.
- Pre-prime panels to save time.
- Work with a partner to handle large sheets.
- Label your cut pieces to avoid mix-ups.
- Always test-fit panels before securing.
Common Mistakes to Avoid
Even seasoned DIYers can trip up on this project.
Ignoring Joist Alignment
If you don’t secure panels to joists, they may sag over time.
Overusing Adhesive Without Nails
Adhesive alone might not support the panel’s weight permanently, especially in humid environments.
Skipping Paint Prep
Painting over dust or oily surfaces results in peeling or uneven coverage.
When to Call a Professional
If your ceiling is exceptionally high or has multiple fixtures, hiring a pro might save you from frustration and potential mishaps.
Benefits of a Beadboard Ceiling
- Adds warmth and texture
- Conceals minor ceiling flaws
- Enhances vintage or cottage-style décor
- Easy to clean and maintain
FAQs
How do I ensure the panels don’t sag over time?
Secure each panel to the ceiling joists using nails or screws in addition to adhesive.
Can beadboard be installed over a textured ceiling?
Yes, but it’s recommended to flatten the texture or add furring strips for a better finish.
Do I need to paint beadboard before or after installation?
Priming before installation helps, but finish painting is best done after it's in place for seamless coverage.
What if the ceiling is not perfectly square?
Measure and trim panels accordingly. You may need to scribe the edges to fit uneven walls.
Is it okay to install beadboard in a bathroom ceiling?
Yes, just use moisture-resistant beadboard and paint it with mildew-resistant paint.
How do I handle corners and edges?
Use trim molding or caulk for a polished and clean look around corners and edges.