How to Install Beadboard in 7 Simple Steps (DIY Guide)
Share
Summary: Learn how to install beadboard with simple steps, tools, and tips to enhance your space with timeless charm and texture.
Adding beadboard to your walls is a timeless, budget-friendly way to inject character and charm into any space. Whether you're aiming for a rustic farmhouse look or a clean cottage-style vibe, learning how to install beadboard can dramatically transform your interior.
This comprehensive guide will walk you through everything from choosing materials to installing and finishing your beadboard panels—without the need to hire a professional.
How to Install Beadboard
Installing beadboard may seem like a daunting task, especially if you’ve never handled home renovation tools before. But once you understand the process step by step, it’s a doable and satisfying project that elevates your home’s interior. Whether you're renovating a bathroom, sprucing up a hallway, or bringing vintage flair to a kitchen, beadboard is a versatile option that fits almost any space.
Tools and Materials Needed to Install Beadboard
Before you dive in, gather all your materials. Having the right tools on hand can make a world of difference in how smoothly the installation goes.
Essential Tools:
- Measuring tape
- Level
- Stud finder
- Pencil
- Circular saw or jigsaw
- Construction adhesive
- Brad nailer or finishing nails
- Nail set
- Caulk gun
- Sandpaper or sanding block
- Paintbrush or roller (if painting)
Materials Required:
- Beadboard panels or planks
- Baseboard and cap molding
- Paint or wood stain (optional)
- Wood filler
- Primer
- Caulk
Choosing the Right Type of Beadboard
Beadboard comes in several types including:
- MDF (Medium-Density Fiberboard): Cost-effective, paintable, great for dry areas.
- Vinyl: Moisture-resistant, perfect for bathrooms or kitchens.
- Real wood: More expensive but offers natural beauty and can be stained.
Choose the type that best suits your room’s function and style.
Prepping Your Wall Before Installation
Preparation is key. Clean the walls thoroughly to remove dust or grime. Use a level to check for uneven surfaces and a stud finder to mark where your wall studs are—this will guide nail placement. If the wall is too rough, consider installing furring strips to even it out.
Measuring and Cutting Beadboard Panels
Measure the height and width of your wall. Don’t forget to account for the baseboard and cap molding. Mark your beadboard panels and use a circular saw for long straight cuts or a jigsaw for detailed ones. Double-check your measurements before making any cuts.
How to Install Beadboard Using Adhesive
Apply a generous amount of construction adhesive to the back of the panel. Firmly press it against the wall, aligning the tongue and groove if applicable. Hold it in place for a few seconds to secure the grip. Adhesive offers long-lasting hold, especially when complemented with nails.
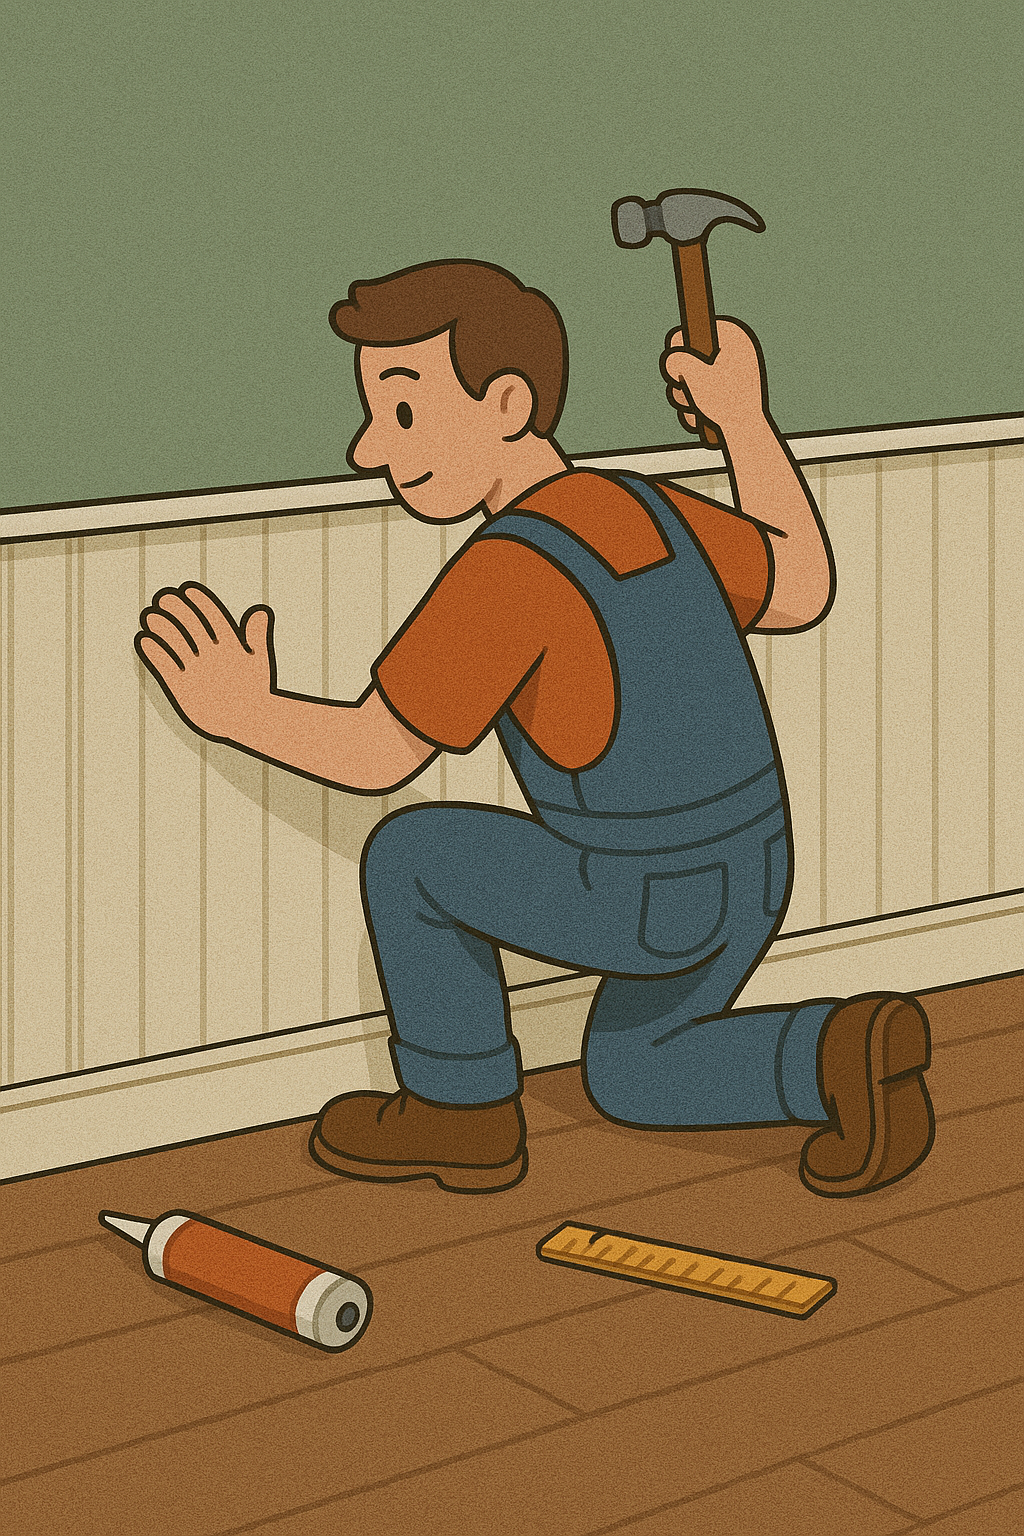
Using Nails or a Brad Nailer for Secure Attachment
While adhesive holds the panel, nails or a brad nailer provide added security. Drive nails into the panel where it crosses a wall stud. Sink the nails slightly below the surface using a nail set. Fill nail holes later with wood filler for a polished finish.
Installing Baseboard and Cap Molding
Once the panels are up, install the baseboard and cap molding. These pieces not only give your beadboard a finished look but also cover any minor measurement errors. Use adhesive and nails to secure these moldings.
How to Install Beadboard Around Corners
When dealing with corners, measure carefully and cut your beadboard panels accordingly. For outside corners, use corner molding to hide seams. For inside corners, you may need to scribe one panel to fit perfectly.
Dealing with Electrical Outlets and Switches
Turn off the power before working around electrical outlets. Mark their positions on the panel and use a jigsaw or rotary tool to cut out holes. Fit the panel and reattach the cover plates afterward.
Painting and Finishing Your Beadboard
After all panels and moldings are installed, fill nail holes and seams with wood filler. Sand the surface smooth and apply primer. Once dry, paint or stain as desired. A semi-gloss finish is recommended for durability and easy cleaning.
FAQs
What type of beadboard is best for bathrooms?
Vinyl beadboard is best due to its moisture resistance and durability in humid environments.
Do I need to paint beadboard before installing it?
You can paint it before or after installation, but painting after allows you to fill and sand nail holes first.
Can I install beadboard over drywall?
Yes, beadboard can be installed directly over drywall using adhesive and nails.
How tall should beadboard be on a wall?
Wainscoting style is typically 32–36 inches tall, but full-wall installations are also popular.
What kind of paint is best for beadboard?
Use semi-gloss or satin paint for easy cleaning and a durable finish.
Do I need to remove baseboards before installing beadboard?
Not necessarily. You can install beadboard above existing baseboards or replace them with new trim.