How to Install Tongue and Groove Panels Like a Pro: 7 Expert Tips for Flawless Panel Walls
Share
Learn how to install tongue and groove panels for walls or ceilings. Follow step-by-step instructions to get perfect panel installation results.
Installing tongue and groove panels can completely transform the ambiance of any space, offering a rustic charm or modern finish depending on your design choice. But before you dive headfirst into a DIY project or call in the professionals, it’s crucial to understand how to install tongue and groove panels the right way.
With proper tools, preparation, and a few handy tips, you’ll be amazed at how smoothly it can go. Whether you’re tackling a ceiling in your living room or adding a cozy feel to your cabin walls, let’s break down every step with precision.
What Are Tongue and Groove Panels?
Tongue and groove panels are interlocking boards that fit snugly together, thanks to a ridge (the tongue) on one side and a groove on the other. Once locked together, these panels form a tight, seamless surface that's not only beautiful but structurally sound.
Why Choose Tongue and Groove?
- Seamless Finish: The design hides nails and screws for a smooth surface.
- Versatility: Ideal for ceilings, walls, wainscoting, or feature panels.
- Insulation & Durability: Adds a layer of insulation and long-term durability to interior walls.
Tools and Materials Needed to Install Panels
Before starting your project, gather all necessary tools and materials. Having the right gear can mean the difference between a flawless finish and a frustrating experience.
Essential Tools:
- Measuring tape
- Level
- Circular saw or miter saw
- Nail gun or hammer
- Wood adhesive (optional)
- Safety goggles and gloves
Materials:
- Tongue and groove panels
- Nails or brad nails
- Wood filler
- Sandpaper
- Primer or paint (if finishing)
Preparing the Surface for Installation
Preparation is key to a successful panel installation. The smoother and more even your wall or ceiling surface, the better the panels will fit and hold.
Steps for Surface Prep:
- Clean the Surface: Remove dust, grease, and loose materials.
- Dry the Panels: Let panels acclimate to room temperature and humidity for 48 hours to prevent warping.
- Locate Studs or Joists: Mark them with a pencil so you know where to secure your panels.
- Level Your Starting Line: Use a laser level or chalk line to ensure your first panel is straight.
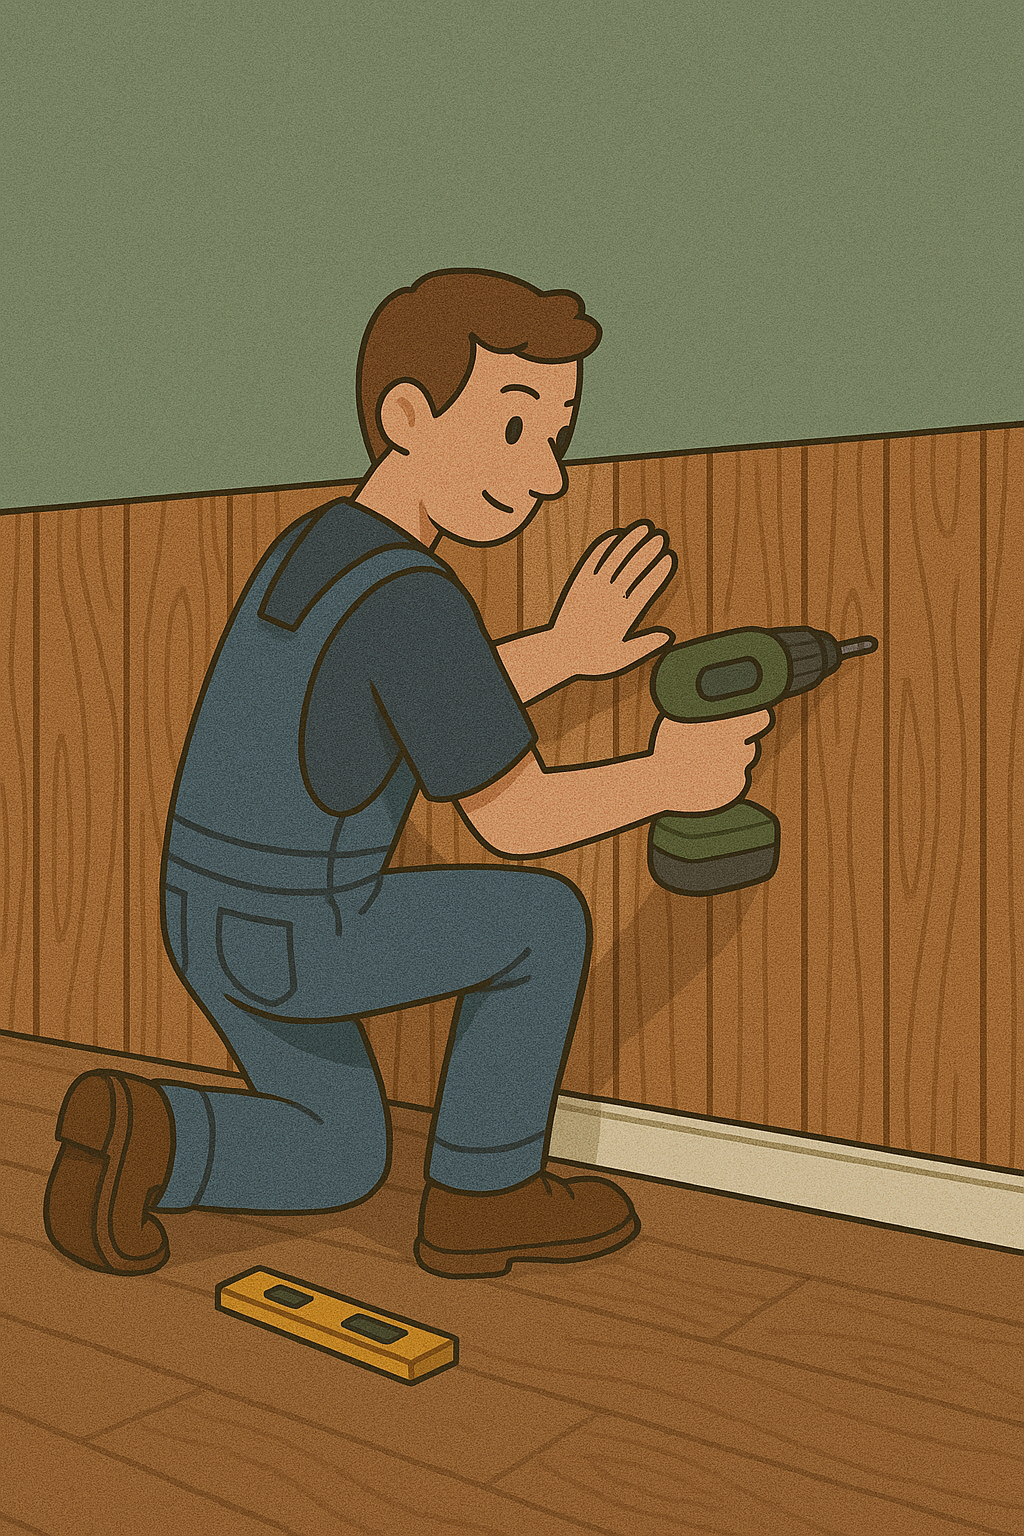
How to Install Tongue and Groove Panels Horizontally
Horizontal panel installation is ideal for creating a widened, open look. It’s especially common for accent walls and informal spaces.
Step-by-Step Installation:
- Start at the Bottom: Place the groove edge toward the wall and the tongue facing up.
- Nail Into Studs: Nail at an angle through the tongue into each stud.
- Tap Gently: Use a rubber mallet to tap the next panel into place snugly.
- Repeat the Process: Continue adding rows, checking each one with a level.
How to Install Tongue and Groove Panels Vertically
Vertical paneling draws the eye upward and works great for high ceilings or narrow rooms. The process is similar but flipped 90 degrees.
Pro Tips:
- Install furring strips for a more stable mount if you’re working on drywall.
- Start from a corner and work your way across.
- Be sure to leave a slight gap at the top and bottom for expansion.
Installing Tongue and Groove Panels on Ceilings
Ceiling installations can be a bit more challenging due to gravity, but they create a stunning effect, especially in cabins or traditional homes.
Ceiling Panel Tips:
- Use a partner or braces to hold panels in place.
- Nail directly into ceiling joists.
- Consider using construction adhesive for added support.
Cutting Around Obstacles: Doors, Windows, and Fixtures
Every wall has its quirks — outlets, windows, and light fixtures that can’t be ignored.
How to Handle Them:
- Measure twice, cut once.
- Use a jigsaw or hole saw for precision cuts.
- Keep edge pieces centered when possible for a balanced look.
Finishing the Edges of Your Panels
Once all your tongue and groove panels are installed, it's time to give your project a polished look with trim or molding.
Options for Finishing:
- Baseboards and crown molding
- Caulking and wood filler for minor gaps
- Paint or stain for final color
Common Mistakes When Installing Panels (And How to Avoid Them)
Even seasoned DIYers make mistakes. Here are a few to watch for:
- Not letting wood acclimate to room humidity
- Starting out of level
- Overdriving nails and cracking the tongue
- Forgetting to check each row with a level
Paint, Stain, or Leave Natural? Choosing the Right Finish
After installation, it’s time to think about your final look. The finish you choose affects both style and durability.
- Painted Panels: Offer a clean, modern feel but may hide natural grain.
- Stained Wood: Highlights texture and provides a rustic look.
- Natural Finish: Apply a clear sealant for minimalistic, Scandinavian-inspired aesthetics.
Maintenance Tips for Long-Lasting Panels
Taking care of your tongue and groove panels ensures they look great for years.
- Dust regularly
- Re-seal stained wood every few years
- Fix small cracks or gaps promptly to prevent expansion
Tongue and Groove Panels vs Shiplap
They may look similar, but there are key differences.
| Feature | Tongue & Groove | Shiplap |
|---|---|---|
| Connection Type | Tongue fits into groove | Overlapping rabbeted edges |
| Appearance | Seamless, tight fit | Visible horizontal lines |
| Installation Ease | Requires precision fitting | Easier for beginners |
Using Panels Outdoors: Is It Possible?
Yes, but you need to use weather-resistant wood like cedar and seal it thoroughly.
Budgeting for a Panel Project
Paneling a room isn’t necessarily cheap, but it’s affordable compared to full wall renovations.
- Material cost: $1.50–$3.00/sq ft
- Labor cost (if hiring): $3.00–$5.00/sq ft
- DIY savings: Significant!
FAQs
How do I know which side is the tongue and which is the groove?
The tongue is the thinner protruding side, while the groove is the slot it fits into. Always install with the tongue facing outwards.
Can I install tongue and groove panels over drywall?
Yes, you can either attach directly to drywall using adhesive and nails or add furring strips for better anchoring.
Should I glue the tongue and groove panels?
Glue is optional but can help reduce movement or squeaking, especially on ceilings.
What type of wood is best for tongue and groove panels?
Pine, cedar, and MDF are popular choices depending on whether you plan to paint or stain.
How much space should I leave for expansion?
Leave a 1/8" gap at the edges for expansion due to temperature and humidity changes.
Do I need to finish the panels before or after installation?
You can do either. Pre-finishing makes cleanup easier, but finishing after allows you to touch up joints and nails seamlessly.